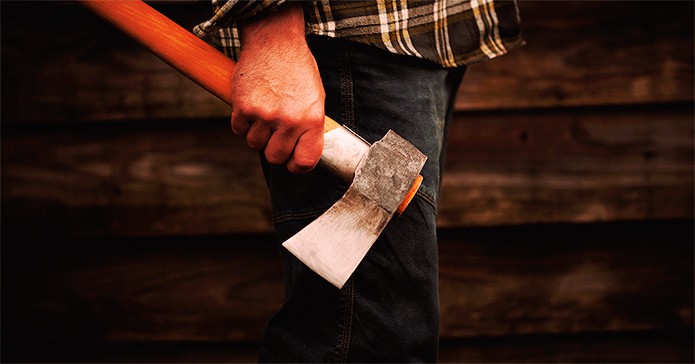
The Axe, our Oldest Tool?
In caring for and using an axe it is worth a moment reflecting upon the history of this singularly useful tool. The first axes were made around 1.5 million years ago of various tough rocks that were ground into shape, or knapped from flint. The glassy structure of flint allowed an axe to be made with a razor-sharp edge. For a brief period in history axes were made of copper and then the development of bronze heralded an age of much improved axes – until these were finally superseded by iron and steel. The basic shape has hardly changed in all that time – as you pick up your axe you are uniquely touching history, the only ancient tool that is still used in earnest.
With a little care an axe or splitting maul should last a lifetime. The wooden handle may need to be replaced occasionally, especially with somebody who is just learning. They may over-hit from time to time damaging the upper shaft. Axe care includes: maintenance and replacement of the handle, re-shaping and sharpening the axe head, fixing a loose head and axe storage. It is also worth remembering that axes were once used as lethal weapons – they still are and safety is always a major consideration.
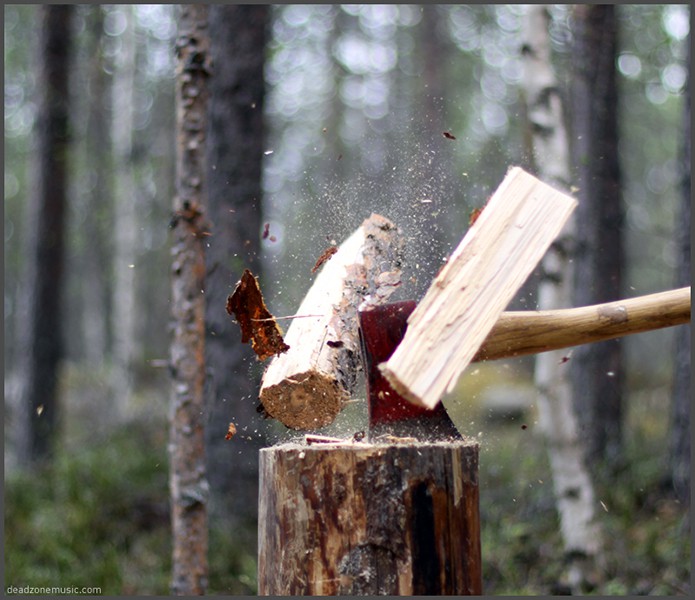
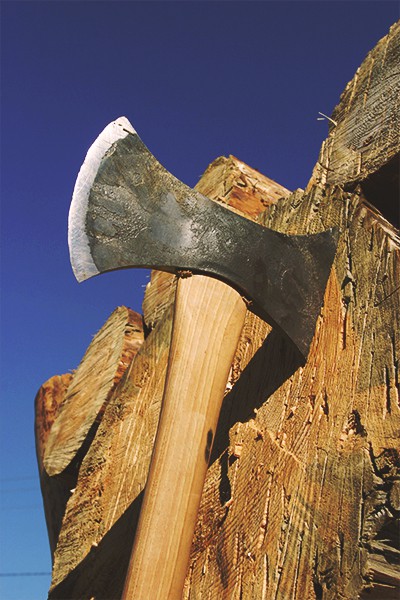
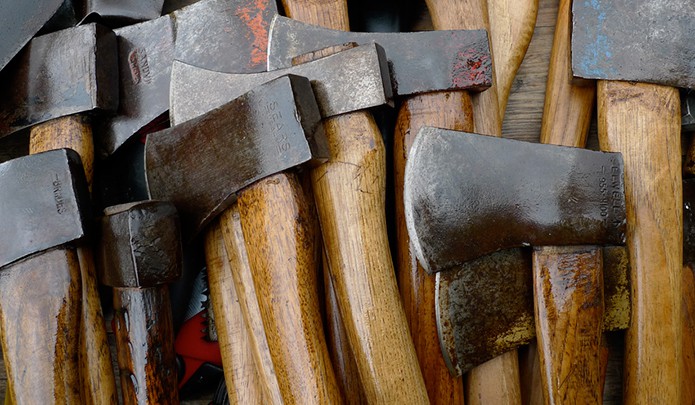
Image courtesy of Panu Savolainen
All axes are cared for in a similar way, except for sharpening. If an axe is only to be used for splitting, then keep it blunt and it will get stuck in logs less often. Other axes are sharpened to suit their design and purpose. In particular, be sure to keep a flat side on broad axes and an even bevel angle on more general axes. Broadly, axes come in six designs: for felling and de-limbing (snedding) – the hatchet or hand axe is a smaller version, mauls for splitting, froes for splitting, the broad or side axes for shaping beams, the adze for shaping beams and the double-bit (double-headed) axes for general field work. One head is razor sharp and pristine for felling and the other head is used for rough work and splitting. I would be very wary of using a double bit axe until you are competent with axes.
Re-shaping and Sharpening
The axe and splitting maul will occasionally need some work to reshape or sharpen the edge. Before starting work, you need to be very clear on what exactly needs doing to bring the axe or maul back into good shape. You may simply want to hone a good cutting-edge back on the tool, or it may be the longer job of filing or grinding the bevel back into shape. It is often said that, ‘a sharp axe is a safe axe’.
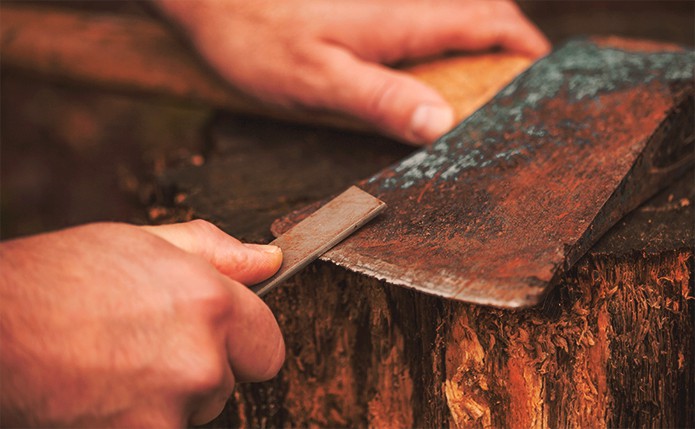
You will need a good ‘bastard file’ (so called because the teeth are rough and coarse – also known as a ‘bastard mill file’); I find the longer the better and like to use a 12 inch (30 cm). You will also need a wire brush to keep your file clean, often called a file card, and sharpening stones – one coarse and one fine. Very good gloves are pretty much essential as you will be filing in towards the cutting edge of the axe. Don’t be tempted to use an electric grinding wheel; the axe edge may get too hot and lose its temper. When I was learning we reshaped our axes using a big old sandstone wheel that had a water bath built beneath it so that the wheel stayed cool, clean and wet. This was a job for two people; one turned the wheel fairly slowly while the other worked the axe over the grinding surface.
Before starting grinding/filing work a modern trick is to use a felt marker pen to mark out where exactly on the axe you want to remove metal. This will help you to monitor progress. Remember when using the file to make single purposeful strokes inwards towards the cutting edge and use the wire brush to clean out metal filings from time to time. Do not draw the file back and forth over the metal as this will shorten the life of your file. Start filing at the back of the bevel and work towards the cutting edge. Work carefully and safely until you are satisfied that your file has achieved the remedial reshaping work it needed.
Note carefully when buying a sharpening stone whether it is to be used wet, dry or with oil. These stones come as a long rectangular shape or a round puck. Often they will be manufactured to be coarse on one side and fine on the other. I keep a rectangular stone for workshop use and have a round puck for use in the field. I’ve only used oil stones when sharpening chisels and have tended, to the disgust of some observers, to use my spit to wet my sharpening stone – spit does make a very good grinding paste.
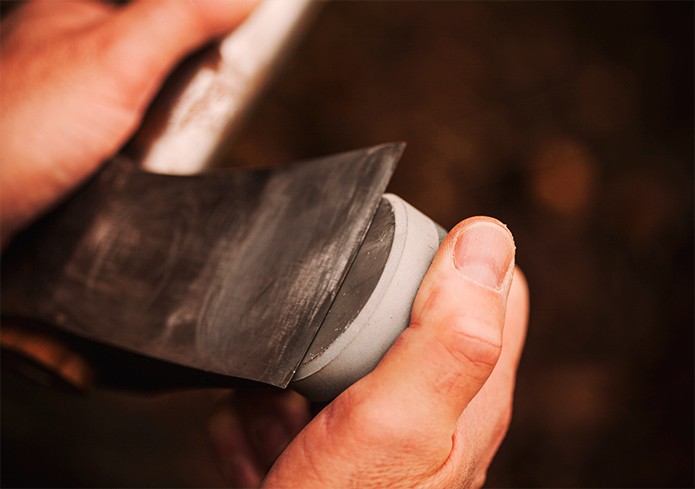
The preferred technique when using the sharpening stone seems to be very largely a matter of personal choice. I have seen the axe and stone simply held, where the axe handle comes into the armpit to lock it in place. Some people clamp their axe to a workbench and then work the stone along the blade, but I’ve seen others do the opposite and lock the sharpening stone in a clamp on the workbench and then hold the axe and work it over the stone. The one thing everyone seems to agree on is to grind in small circles, pressing hard at first and lightening this pressure as the axe become sharper. Be sure to work both sides of the edge evenly. I like to finish by pushing the blade gently in an arc across the stone, this should remove any burr. Another method to remove any last thin metal on the actual blade edge is to ‘strop’ the edge using leather, tough cloth or even a flat wooden surface. In this case, unlike filing, the axe is pulled across the stropping material – otherwise the edge of the axe would cut it to ribbons.
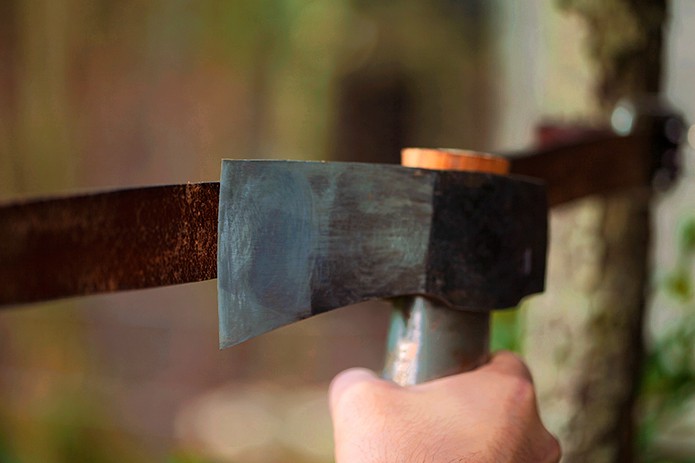
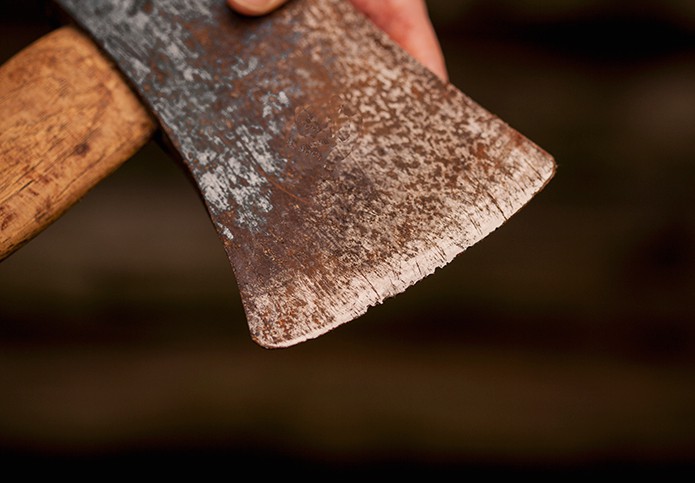
Lastly, it is good to be able to judge that the axe blade is now sharp evenly along its complete length. I hold the axe in good light so that I am looking straight down at the edge; it should be invisible. If you can see points of light on the edge, these are the blunt or burr spots and the axe needs further work.
The light test can be followed by seeing if the axe is able to easily cut strips from a sheet of paper – this is safer than what I see many people do, which is to see if the axe can shave their arm or leg. As a student I was taught to pull one hair from my head and see if the axe could cut shavings from the hair. Another test was to take tiny shavings of skin from the edge of my thumb – again, very satisfying, but you can’t do this too often! Be sure to protect the razor-sharp cutting edge that you have worked so hard to achieve by keeping your axe in a good-quality sheath. The great Abraham Lincoln was keen on a good edge to his axe and noted, “Give me six hours to cut down a tree and I’ll spend the first four sharpening the axe.” I remember talking to a coppice worker many years ago who had a similar view. He was much more productive than those he was working with, but seemed to work no harder. I asked him for his secret, “A sharp edge!” he said, smiling.

Axe Head and Handle Maintenance
A good axe handle should need little maintenance and much time can be saved by looking over the handle carefully when you are first buying the axe. Most wooden handles are made of hickory or ash – fast grown is best; look for wide annual rings. The toughest hickory handles are made of sapwood only. In both cases it is better if the grain runs parallel with the axe head; this reduces the likelihood of the handle splitting. Check that the handle is straight and that the axe head is properly and neatly mounted and wedged.
After use the wooden handle should have a very light coating of oil. Most people use a little linseed oil wiped evenly all over the handle with a rag, give the end grain at the top and bottom of the axe a little extra oil. A friend of mine warms his linseed oil with a little beeswax and this gives a good finish. The important thing with the metal axe head is to prevent rust. Any light machine oil wiped thoroughly over the axe head will do, although many people prefer to use gun oil and a small brush to do this. Be generous with the oil on the axe head and mean with the oil on the axe handle. If the axe head does become loose try a new wedge in the eye, in line with the grain and think about storing the axe somewhere damper. I’ve never been comfortable with just dropping the axe head in water to swell the wood as some people do.
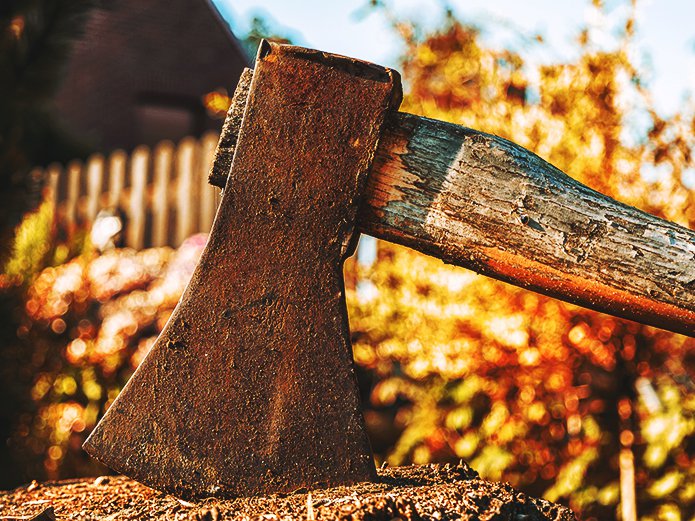
Credit: Coconinoco
Handle Replacement
When you need to replace a wooden axe handle, buy a good one and give yourself plenty of time to fit it – this is not a job to be rushed. Remember that the longer the axe handle the safer it is to use, but you must be comfortable with it. Interestingly, it is said that you ‘hang’ an axe head on its new handle. And, if this is done badly, the worker may never be able to ‘get the hang of the axe’ – amazing how this term is now in every day usage for anything that we just can’t quite make work.
The old handle should be sawn off through the shoulder, just below the lip of the axe head. The head is then held fast in a vice and a few holes drilled into the wood to help loosen it – beware of any metal wedges or nails that have been used to keep the axe head tight. Use a lump hammer and an appropriately shaped piece of metal or hard wood to drift the remains of the old axe handle out of the eye of the axe head. If anybody advises the easy trick of burning the old wood out of the axe head, ignore them – this will destroy the temper of the entire axe and ruin it.
Axe Storage
When you are putting the axe away for a period of long storage, say when you have finished splitting firewood for the year, give it the basic maintenance treatment but with greater care. The handle can have more linseed oil with a little beeswax and the head should be thoroughly painted with gun oil – until it drips!
Hang the axe upside-down when you have finished to let the surplus oil drain away. The sheath also needs some care and the leather should have a generous coating of a leather care product. Note that linseed oil soaked rags have been known to spontaneously combust. So don’t leave them in a workshop bin, they must be disposed of carefully. An important question is where the axe is to be put away. Obviously it is best out of reach of children, but it is important not to store the axe somewhere really dry. Even though you have taken care to oil the handle, if stored in a really dry place for a long period of time the handle may shrink a little, causing some cracks or checking in the handle itself and the head to become loose.
As I said at the start, the axe is an amazingly old tool and it is worth learning how to use, maintain and store it properly. The axe was a frontiersman’s best friend – make friends with yours and enjoy its company!

Woodsman and author: Vince Thurkettle
Vincent Thurkettle is a woodsman. He first studied woodland skills at Dartington Hall in Devon when he took the Royal Forestry Society’s, ‘Woodman Certificate’. Later, as a manager with the Forestry Commission, he became a Chartered Forester. Vincent has always used axes and splits all the firewood logs that heat his home using an axe or maul. He published ‘The Wood Fire Handbook’ in 2012.


Wednesday, February 15th 2023 at 10:03 am
[…] Merchant and Makers: Traditional Skills: How to Care for Your Axe […]
Sunday, December 9th 2018 at 5:57 pm
[…] also want to make sure to take good care of your axe to make sure it remains durable and long […]