The apparent simplicity of a trug is deceptive; although simple in terms of design, name and use, the construction of a traditional Sussex Trug requires much skill in order to transform the humble raw materials into an iconic object that marries perfectly form and function.
Part of the appeal, both practically and aesthetically, of the Sussex Trug is the combination of the two native British woods; sweet chestnut and willow. Yet, although looking perfect paired together, these two woods are notoriously difficult to work with, so trug-making is therefore a highly-skilled craft, requiring around six years of training to reach the acclaimed status of Master Craftsman, hence why there are very few such individuals making trugs traditionally today.
Here, one of the few remaining Master Craftsmen, Robin Tuppen, owner of the Cuckmere Trug Company, talks us through the many steps involved in handcrafting a trug, and explains his commitment to upholding traditional tools and techniques in order to maintain the integrity and authenticity of a traditional Sussex Trug.
Cleaving Chestnut
“The first step in making a trug is crafting the chestnut handle and frame, and we do this by taking straight poles of chestnut, known as Cooper Poles or Trug Bats, which are then split down their length using a cleaving axe, which is also known as a froe.
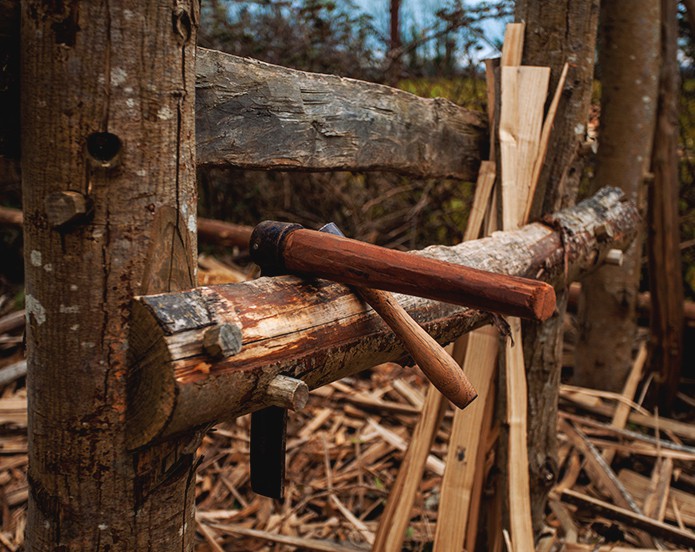
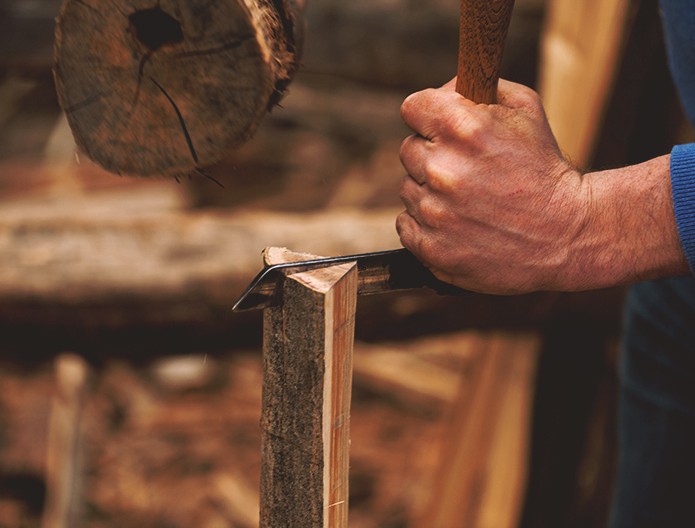
These rounds of chestnut, typically 6-8 inches thick, are stood upright and the cleaving axe is placed on the top of one end and hit with a wooden maul, or mallet, also made from chestnut, to start the split.
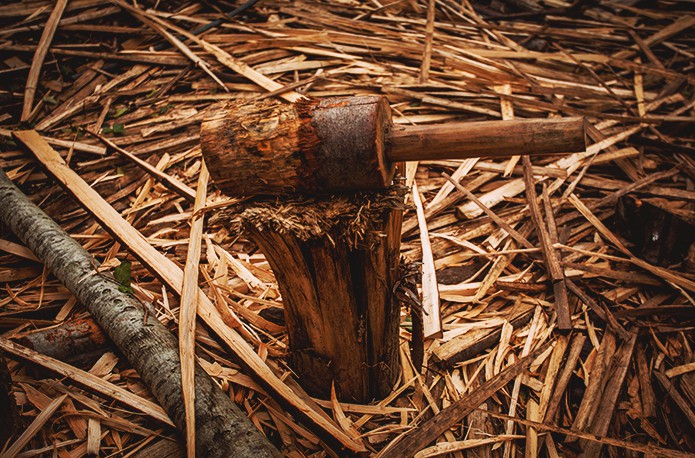
As the wood splits, the axe is worked through the split by hand, using the natural grain of the wood, until the wood separates. This can also be done in a cleaving brake.
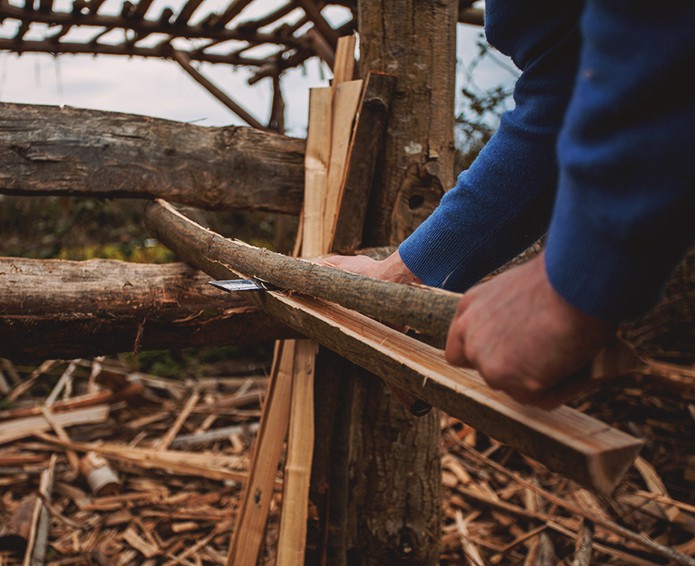
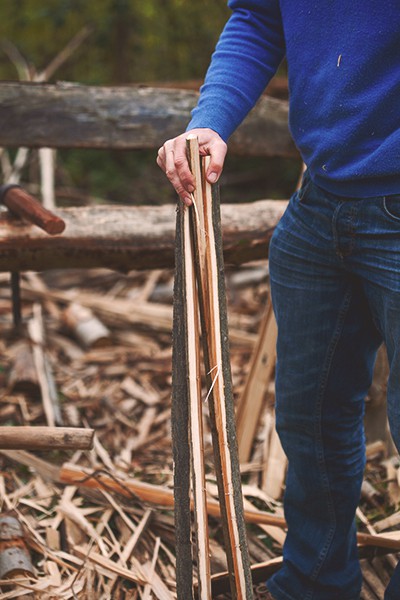
Once this is complete, the chestnut length is split again lengthways to produce more manageable pieces to work with, which, at the end, resembles a Dairylea cheese piece and these pieces, in turn, are cleaved down again to remove the heart wood.
The chestnut is then ready to be taken into the workshop to be shaved into the correct shape for the handles and rims.
Shaving Chestnut
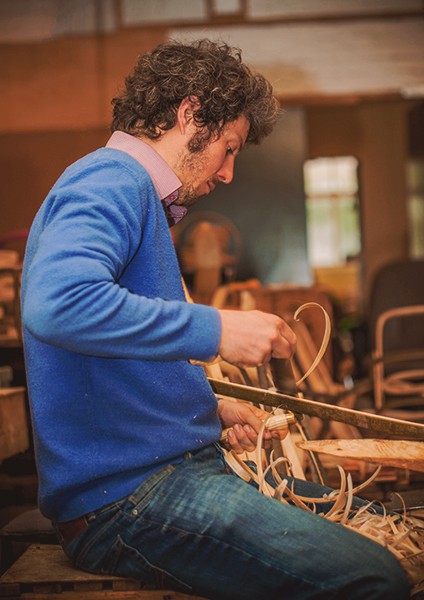
The craftsmen then take a length of chestnut and secure it into a foot-operated vice called a “shaving horse”, whereby they straddling the horse and using a draw knife pulling towards them, they shave the length to the correct width and thickness in readiness for steaming and bending into the desired shape.
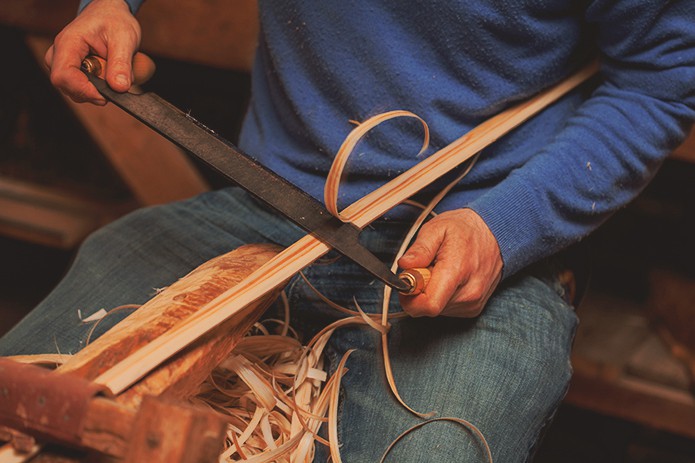
It is important all the rough edges of the handle and rim are removed to produce a smooth and comfortable surface for carrying. Given the fact there are 70 different types of trug of different shapes, sizes and finishes, it’s an incredibly skilful task, as the craftsmen has to do all of his work by eye alone.
Steaming Chestnut
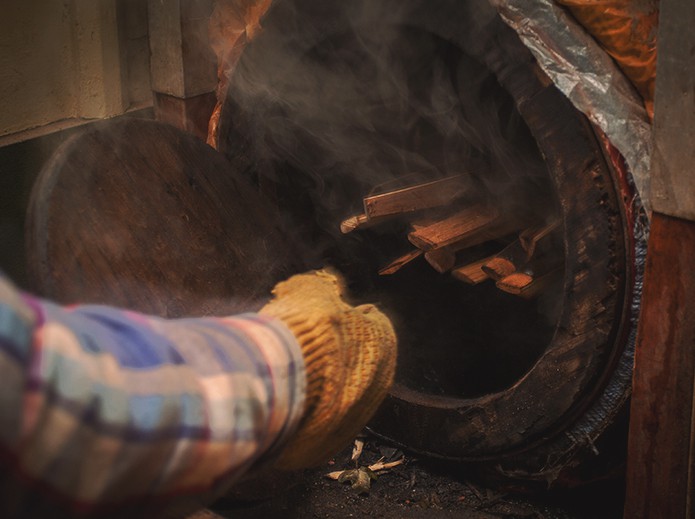
The shaved lengths of chestnut are ready to be softened for bending into shape for the handle and rim, which is done by placing the chestnut in a steamer for about ten – fifteen minutes. Steaming has the effect of dissolving some of the bonds between fibres allowing them to realign into a new shape. The steam circulates freely in the steamer, softening the chestnut, and making it pliable for bending into shape.
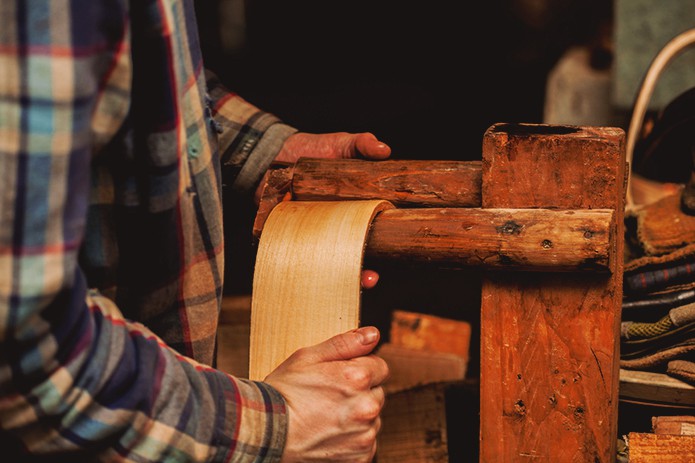
Bending Chestnut
The chestnut is removed from the steamer to make the handle or rim, which is done by bending the supple wood around an old wooden ‘former’, a type of wooden template.
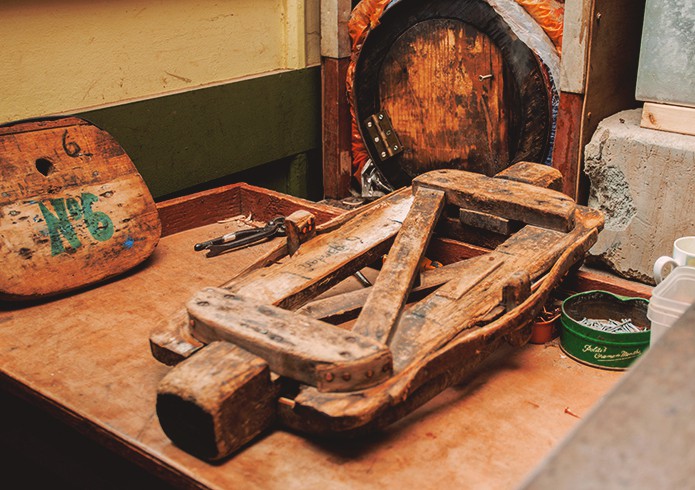
The craftsmen only have a few seconds to do this before the bonds in the wood fibres cool and reform thereby becoming stiff again, so the craftsmen have to work quickly and skilfully to ensure the steamed chestnut compresses around the new shape correctly without cracking or splitting, which it will do if it’s carried out too suddenly.
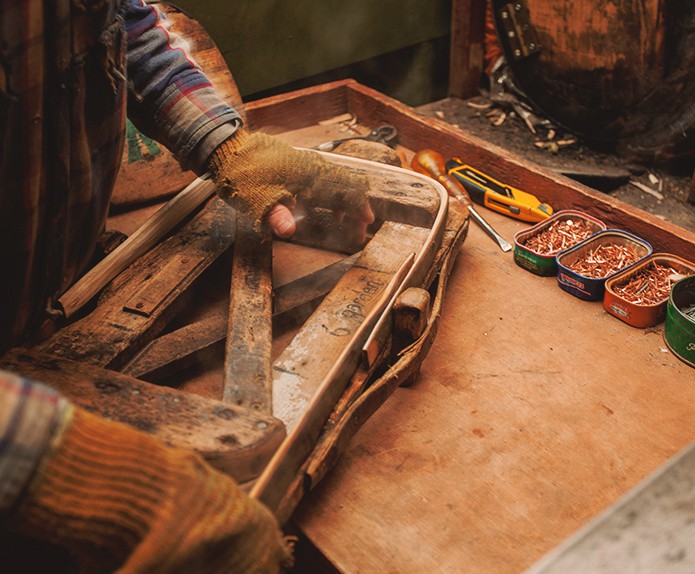
This is where the skill in the shaving process is so important, as if the chestnut is too thick it won’t be supple enough to bend, but if it’s too thin, it won’t be strong enough to keep its shape. Likewise, if the chestnut is too rough, it will kink. The bottom of the handle and the sides of the rims are fixed together using cut copper tacks.
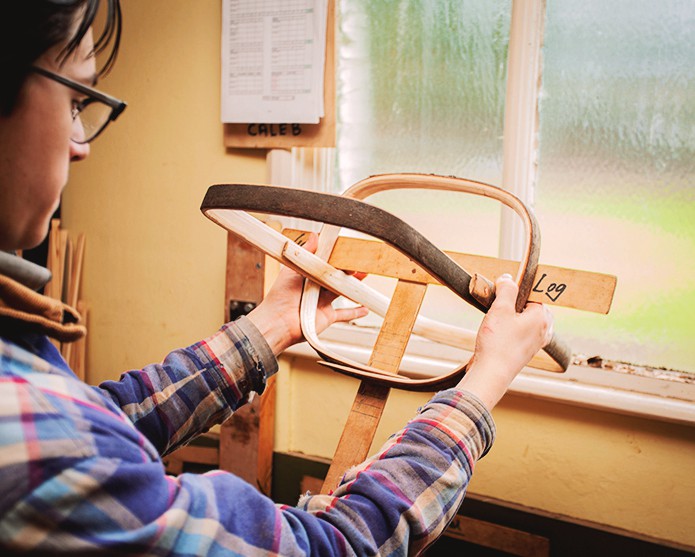
The handles and rims are then ready to be nailed together to produce the frame so that the boards can be placed inside them to create the base and sides. The handles are always made in one piece of chestnut, whereas the rims are either made in one piece, and on the larger trugs, two pieces. We nail them together using galvanised steel nails because the copper is too soft to go through the thickness of chestnut involved.
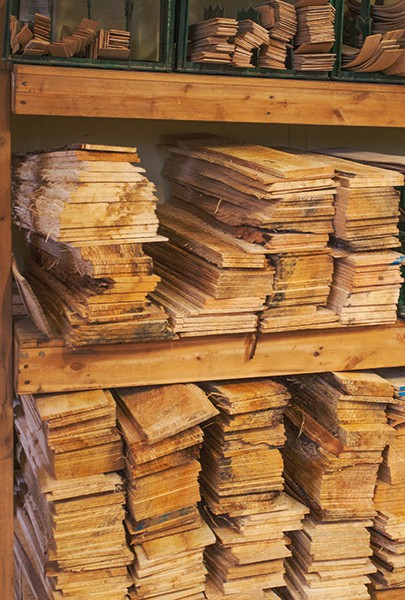
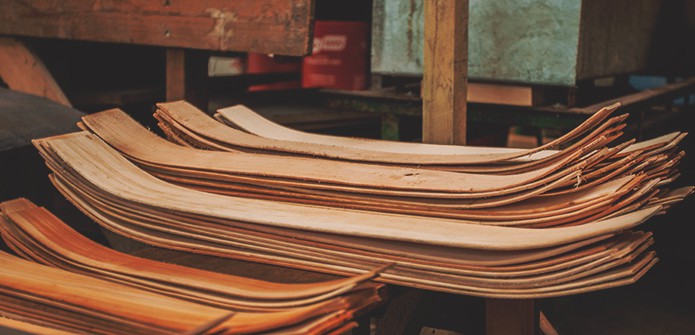
Preparing Boards
The boards are made from Cricket Bat Willow and we receive them as rough sawn boards which are planed to the correct thickness and sanded to remove any rough edges. If the boards are too thick, they will be too rigid to bend. In the past the boards would have been shaved to size using a draw knife on a shaving horse, and we are already taking steps to revert to this method, as the time savings by using machinery are negligible.
Steaming Boards
Like the chestnut, the willow boards are put through the steamer or are soaked in very hot water so that they become supple.
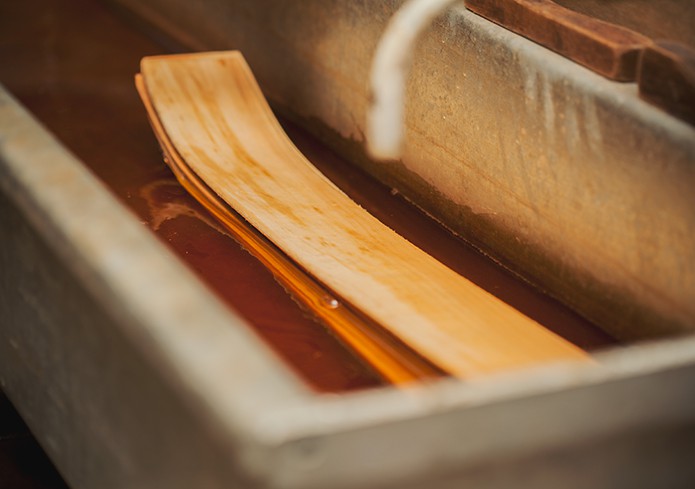
They are then bent on a small brake to shape the ends in order to give them a spring when they are placed within the frame.
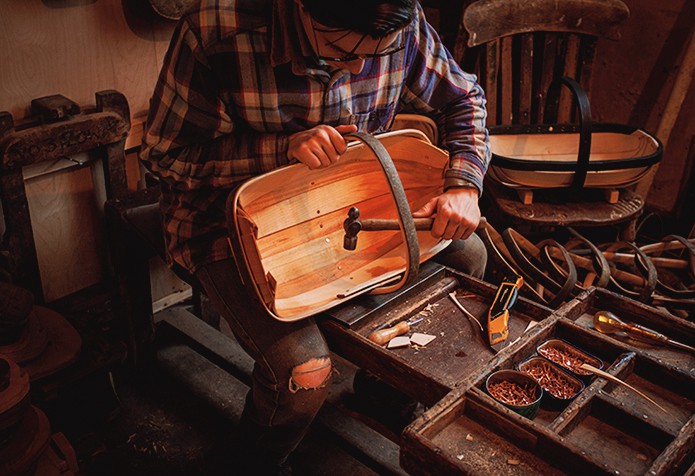
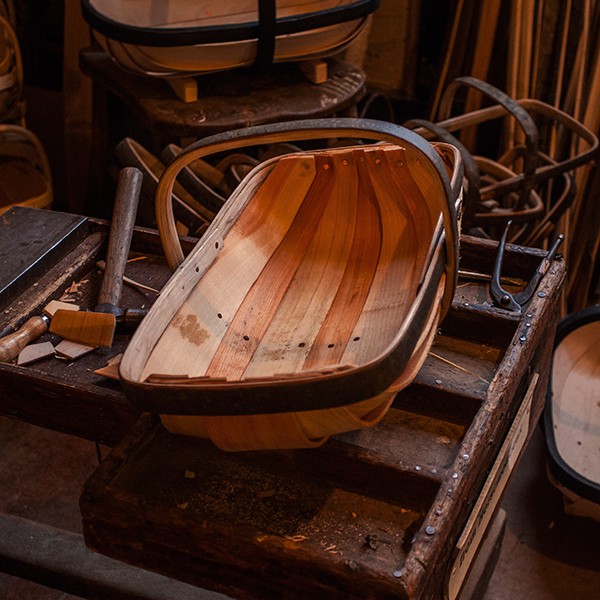
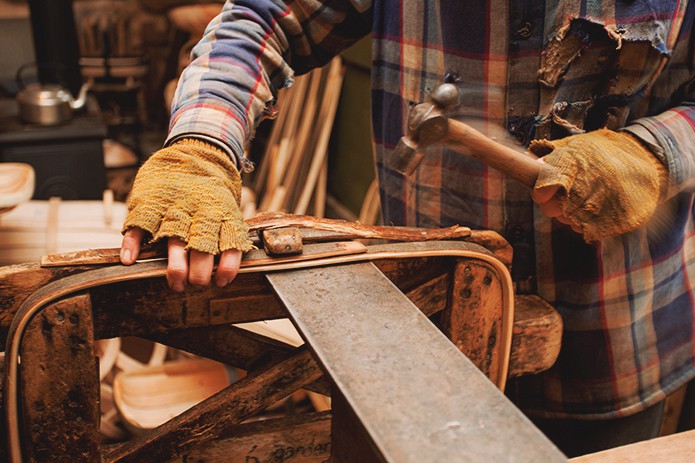
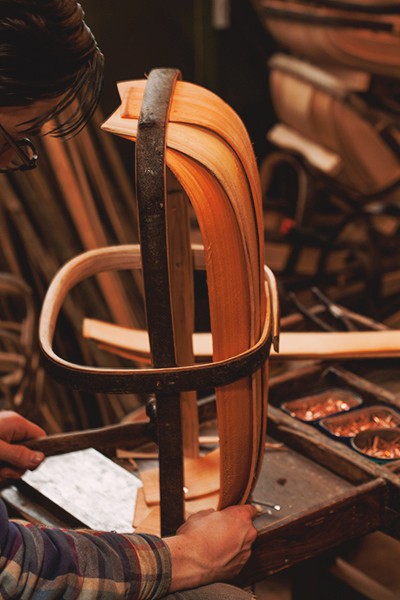
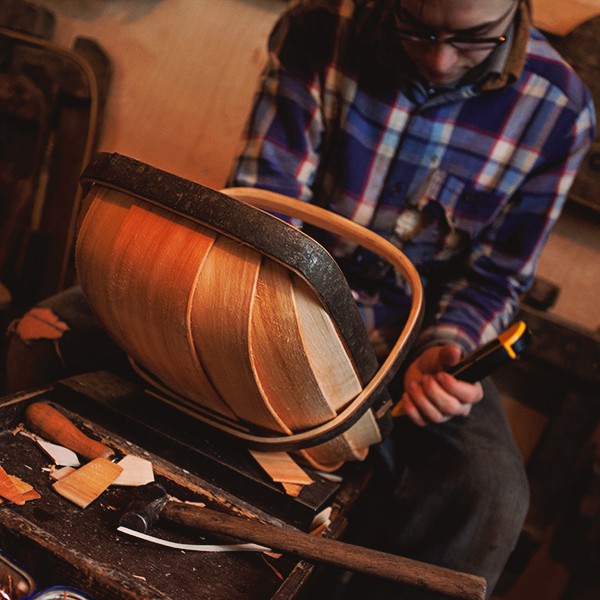
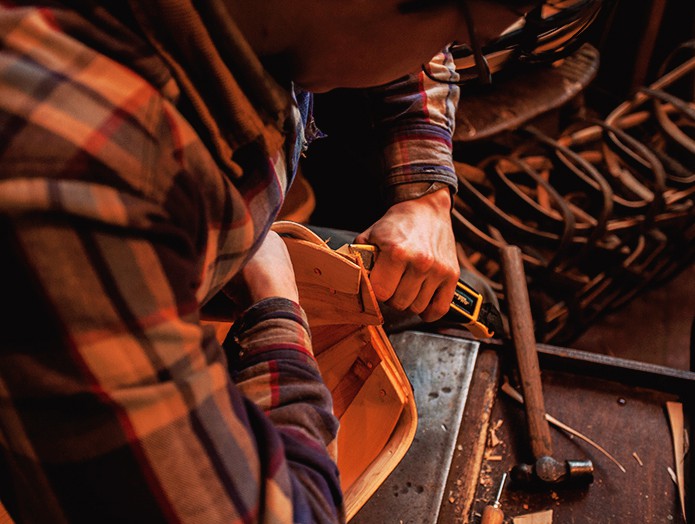
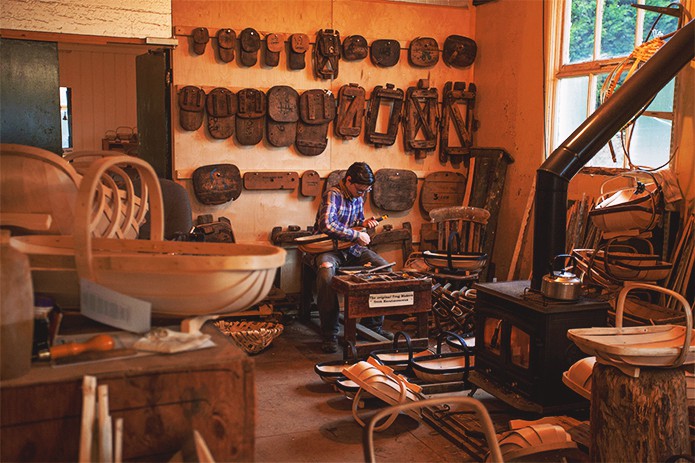
Trug Assembly
The trug assembly is carried out on the “Making Horse”. We take the steamed willow boards and nail them into place on the chestnut frame in sequence, starting with the “bottom or first” board, followed by the second third and fourth boards, of which there are two each.

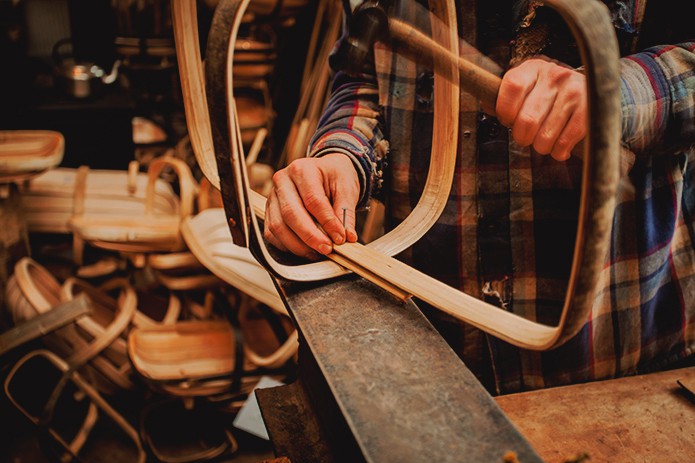
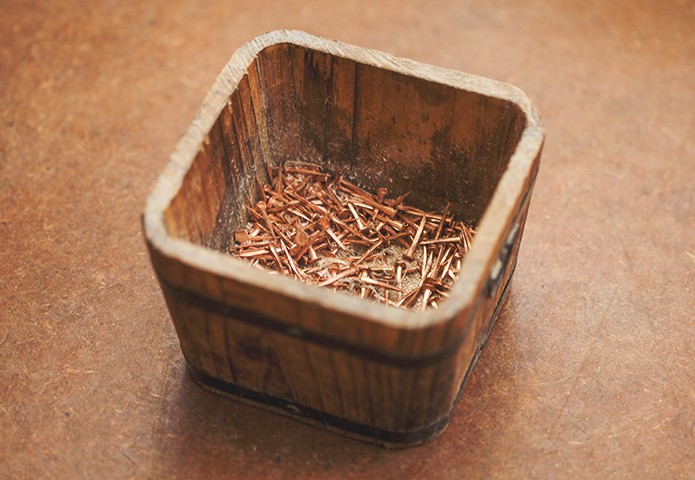
We fix them in place with solid copper tacks, using a bradawl to make the hole, to avoid the risk of splitting the wood.
The reason we use copper is because it won’t be affected by the tannin in the green chestnut, which could corrode steel tacks.
As we fix the boards, we make adjustments to them with a knife to ensure they fit correctly.
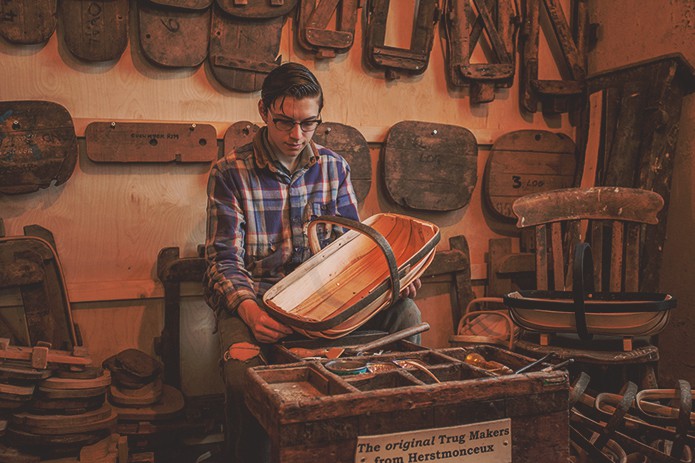
Finishing
The ends of the boards are trimmed with a knife to make them align with the end of the trug and make them look tidy.
Once we have assembled the trug the legs are added. These were traditionally made of Cricket Bat Willow but, due to the difficulty in obtaining sufficient supplies, we now use pine wood. The legs are fixed using copper clout nails and the trug is given a thorough inspection before being signed off by the craftsman and the Thomas Smith stamp added.
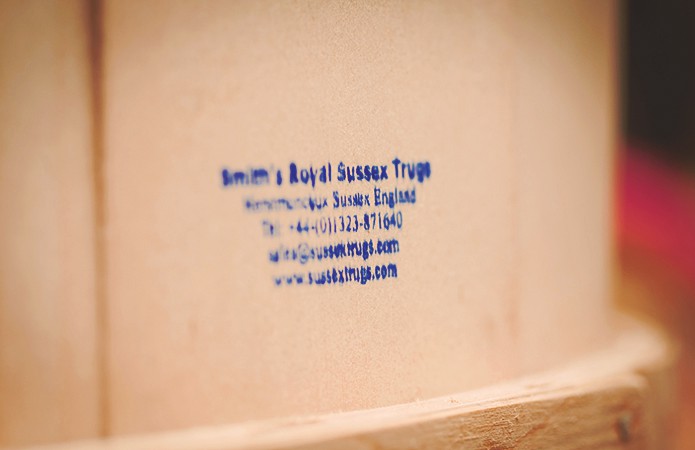
We also place a unique reference number next to the signature and stamp showing the year/month/day/trug finished on that day.
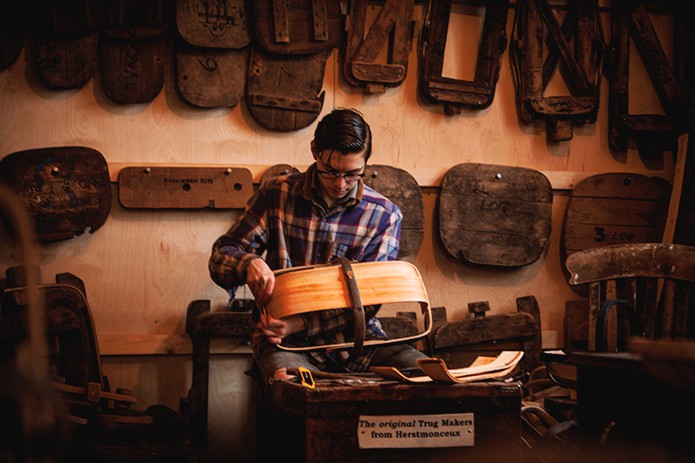
Handcrafted
Trug making was entirely done by hand originally, even to the extent of cutting willow into lengths using wedges and a sledgehammer before sawing them into slats by hand in a saw pit using double-handled saws, ready to be formed into boards. However, when we acquired Thomas Smith & Sons twenty-seven years ago, the craftsmen had already started to embrace hand-operated machinery to help with some simple tasks, such as using rip saws to cut willow into blocks and thin slats, which would then be put through a planer-thicknesser.
Nowadays we have more up-to-date equipment to help us, but it’s all still hand-operated, and it’s only for a few basic tasks; the vast majority of what we do is entirely by hand using the same tools – such as cleaving axes, shaving horses, draw knives, bradawl and the like – as would have been used two hundred years ago, and I think that’s what appeals to people, that, and the very knowledge that everything is measured by eye.
In fact, we’re sorely tempted to dispense with some of the few pieces of machinery we do use, and become entirely dependent on just our hands and basic tools, as some of the machines we use to sand the willow boards are just as time consuming as shaving the boards using draw knives on a shaving horse.
The key thing for us is that nothing is automated and everything is hand-crafted, and we’re entirely transparent with our customers. Everyone is more than welcome to come down to our workshop and see our craftsmen at work.
The only aspect of our business that has adopted modern technology is our office, which embraces technology for the internet and communications, meaning that, whilst we embrace traditional skills, we still live in our modern society and communicate instantaneously with our many customers around the world.”
For our interview with Robin Tuppen exploring the history of Sussex Trugs and the wider craft of trug-making, click here. Further details on Cuckmere Trug Company below:


Wednesday, January 31st 2018 at 1:49 pm
[…] sig bakåt till 1820-talet där Smith började tillverka korgar i Sussex – läs om hantverket här och här. Det är något med dessa korgar som genast gör mig till en brittisk trädgårdstant som […]