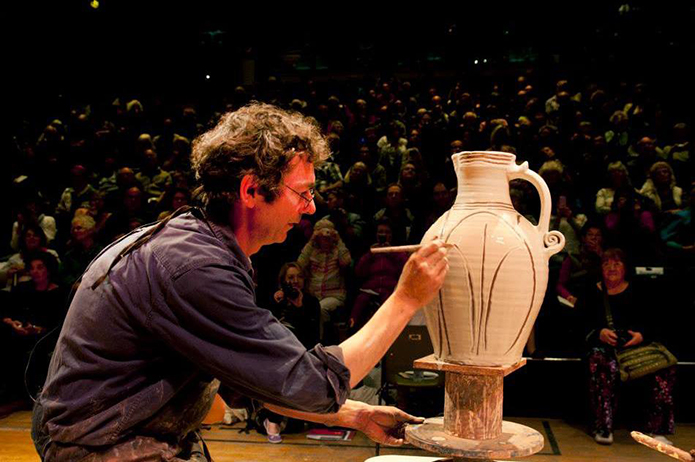
Image courtesy of the International Ceramics Festival.
Literally getting stuck-in and your hands dirty is a daily occurrence to a potter, but all in a good way. A slipware potter can also enjoy the childlike pleasure of the ‘slip and slide’ messiness of applying the slip to the near-finished piece. This wonderfully earthy method of creating objects and vessels, by hand, from the naturally-occurring materials that surrounds us has been practised for at least five thousand years. Internationally renowned slipware potter, Doug Fitch, allows us a window into this ancient craft in the modern day, demonstrating how to ‘throw’ a rustic five pint jug, in a series of intriguing steps; from mixing the freshly dug clay to the ‘race-against-time’ decoration of the fast-drying slip…
ABOUT DOUGLAS FITCH
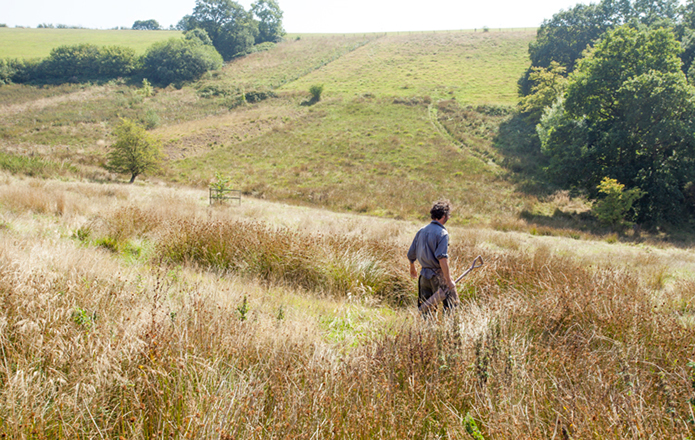
Doug has been a potter, firstly as a hobby after studying pottery at Derbyshire College of Higher Education in the 1980s, for over a quarter of a century, but more recently pottery has become his sole occupation, drawing from the skills and techniques demonstrated within the work of master craftspeople of the past, using traditional potter’s wheel and wood-fired kiln whenever possible, as well as the inevitable inspiration from natural environment, which idyllically encroaches upon his country workshop, with its ever changing seasonality of colours, tones and textures.
Making a Rustic Five Pint Jug by Doug Fitch:
To start, I use red earthenware clay. I mix it with brick clay to give it a gritty texture using a pugmill, which blends the ingredients together and gives the clay a bit of structure.
Before throwing clay on the wheel, I ‘kneed’ the clay, which blends all the clay together for an even consistency throughout, and it also removes any trapped air bubbles. Subconsciously, I find the kneeding process allows me to connect with the clay so that I know what consistency it is before throwing it.
The clay is then ready for ‘balling up’, whereby I divide the clay up into parts, and ‘knock up’ into several ball shapes, so that each time I’m starting with an established shape before putting the clay on the wheel.
The next step is centring the clay, which is pushing the clay ball downwards onto the middle of the wheel whilst it’s spinning so that I can start working it with my hands.
‘Opening up’ is next, where I insert my fingers into the centre of the clay and push them downwards until they reach the base, and then carefully pull them backwards so that it opens up the clay to make a centred hollow, whilst forming a base.
‘Knuckling up’, is where I lift the clay up with the side of the knuckle, creating height and making the wall of the jug thinner.
I continue this process to form the shape of the jug, called ‘pulling up’.
Once the jug is the shape I want it, I then use a wooden tool made from beachwood to shape it more precisely. I’ll add water to the outside to act as a lubricant so the clay slides through my fingertips more easily.
The lip, or spout, of the jug needs to be added next, very carefully using my fingers.
Wiring off comes next, whereby I take a wire at the base of the wheel, and pull it carefully towards me breaking the bond between the clay and the wheel.
Of course, the jug needs a handle, so it isn’t finished yet, but it can’t be added at this stage as the jug isn’t quite hard enough to withstand adding a handle.
Normally, I would leave it overnight to toughen up, just before it becomes leather-hard, and I’d make another half a dozen jugs alongside it. However, to speed up the process of drying, I can use a gentle blowtorch flame.
The term used to describe making a handle is called ‘pulling the handle’ (the Devon term is ‘bowing’). The clay is pulled to make a handle shape, rather than rolled, as it makes it stronger and gets all the clay particles running in the right direction. It’s quicker as well.
The area where the top part of the handle will be fixed to the jug is crosshatched to provide a good surface which the handle can adhere to.
Slip is added to the crosshatched area to act as glue, which will be a good adhesion point.
The top section of the handle is secured into place. When in position, I will then add some water and re-pull the handle to give it some more life as it will have dried out a bit. I think the extra pulling adds in some lines into the handle which gives it some dynamism.
I then fix the bottom end of the handle in place, and will go around the base of the jug with my thumb to take off any rough edges.
Adding my seal comes next – I use my initials D.F.
After putting on the handle it would normally be left overnight to let the handle toughen up to be same consistency as the rest of the jug. However, I can use a blowtorch again to speed up the process, so I can add the slip to the jug almost straight away.
My favourite part of the process – adding the white clay slip – very juicy!
The jug needs to be decorated quickly, using a rubber stylus, as the slip dries and the marks will vary as it dries.
In this instance, my design is ‘grasses on the field’; influenced by the scene immediately outside my workshop, which is endless fields.
The jug is then left to dry. Once dry, it is biscuit-fired at 900C to make it hard.
Image courtesy of Claire Borlase Photography.
It is glazed, and put back in the kiln for a second firing; this time at 1080C for a glaze firing. The jug is then complete.
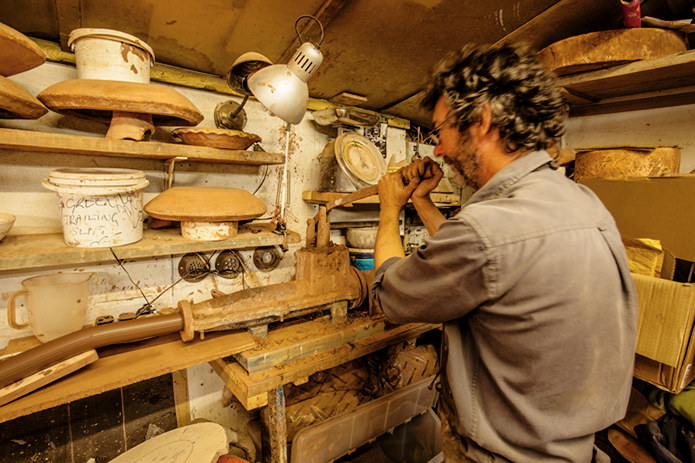
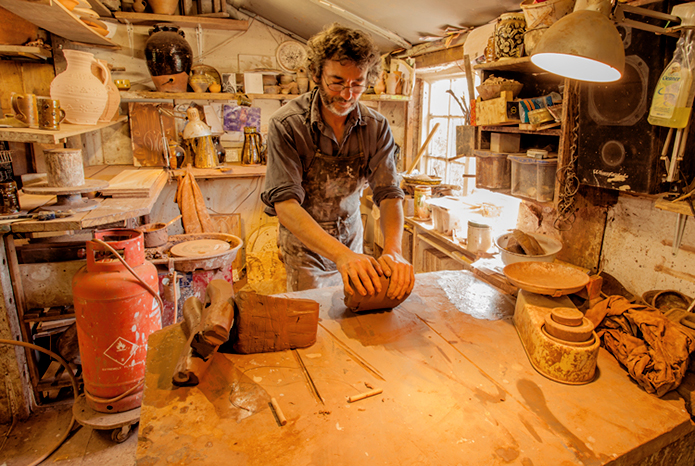
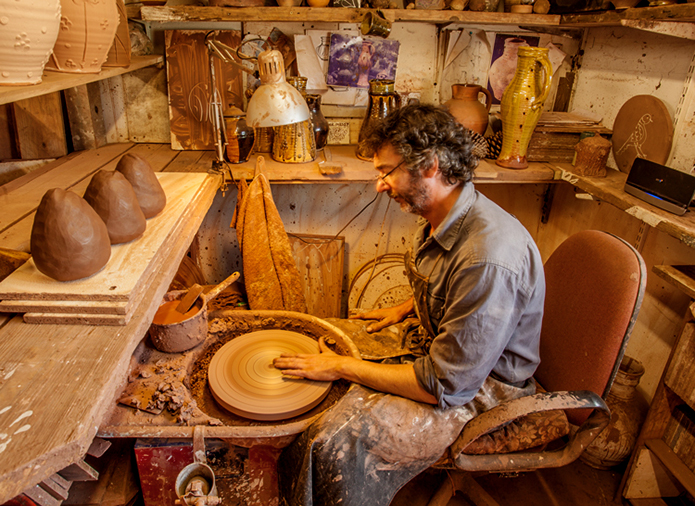
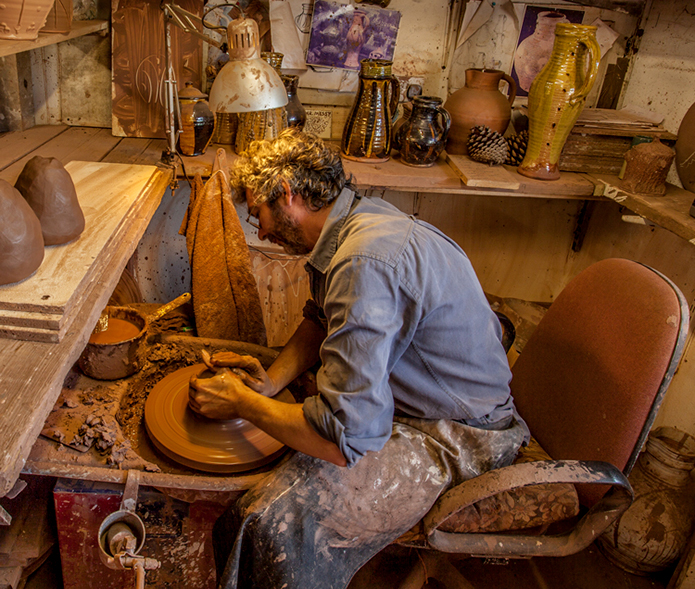
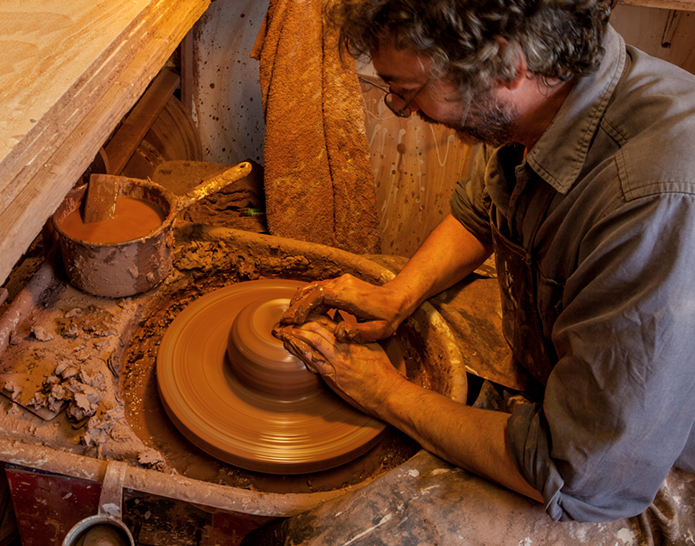
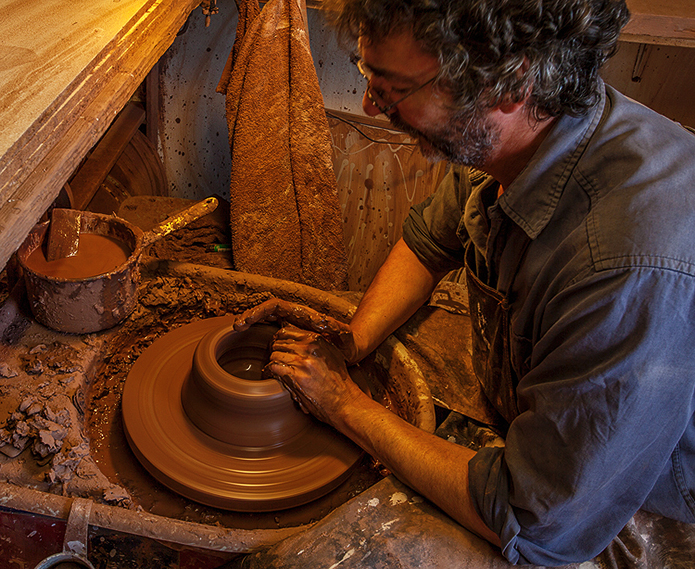
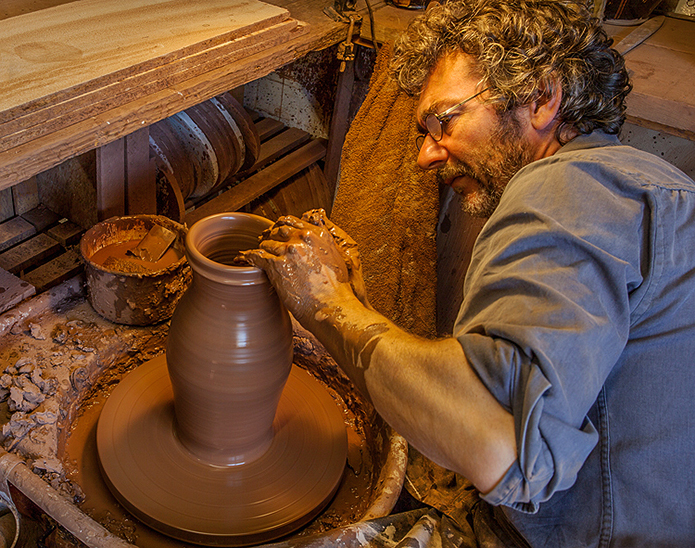
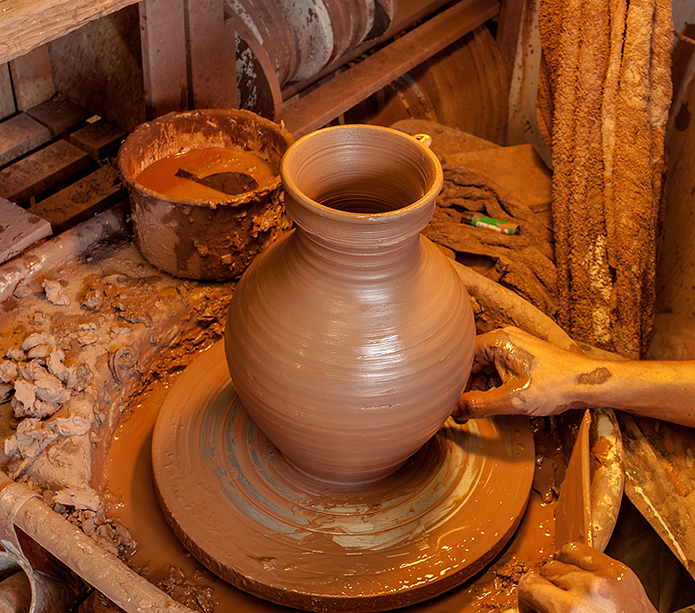
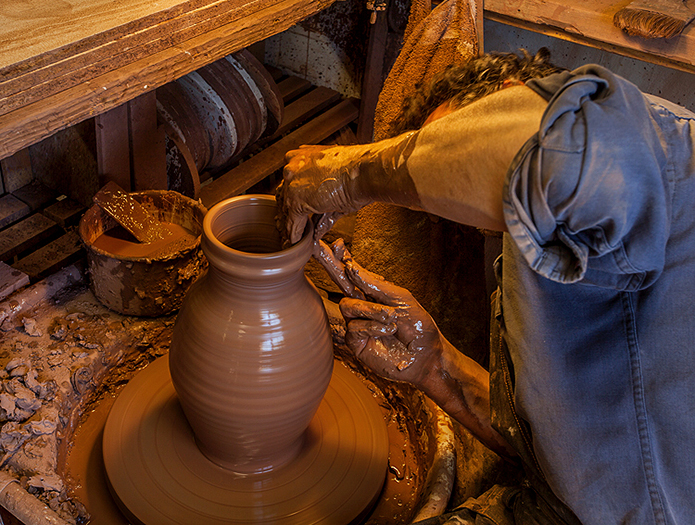
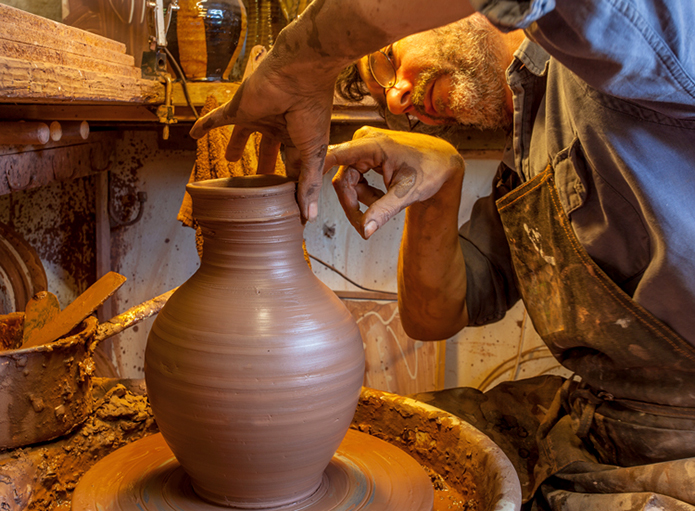
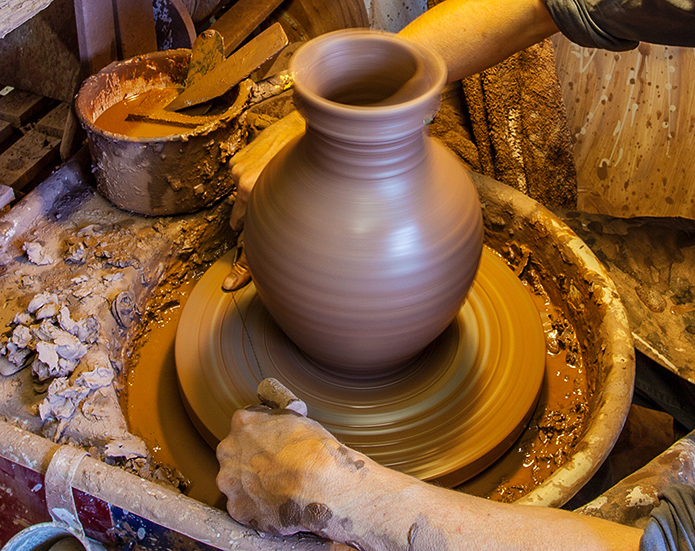
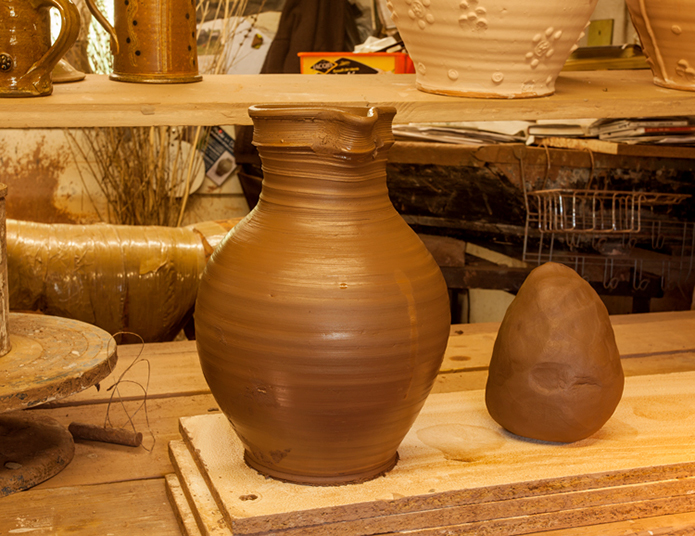
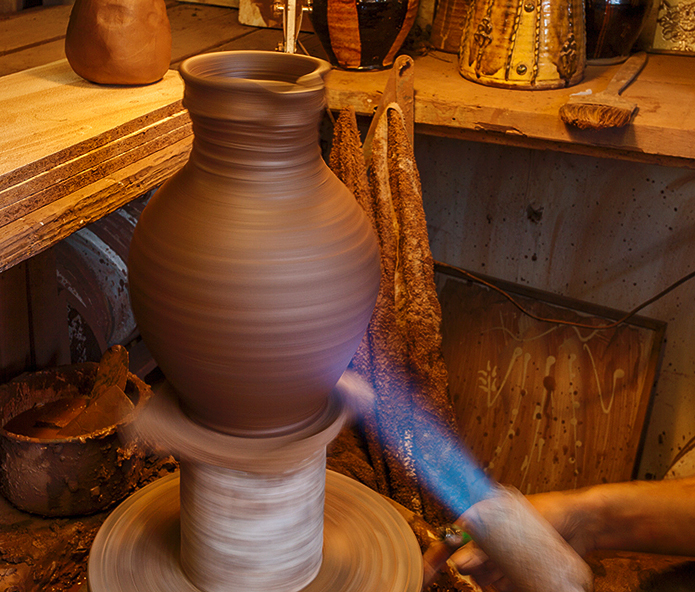
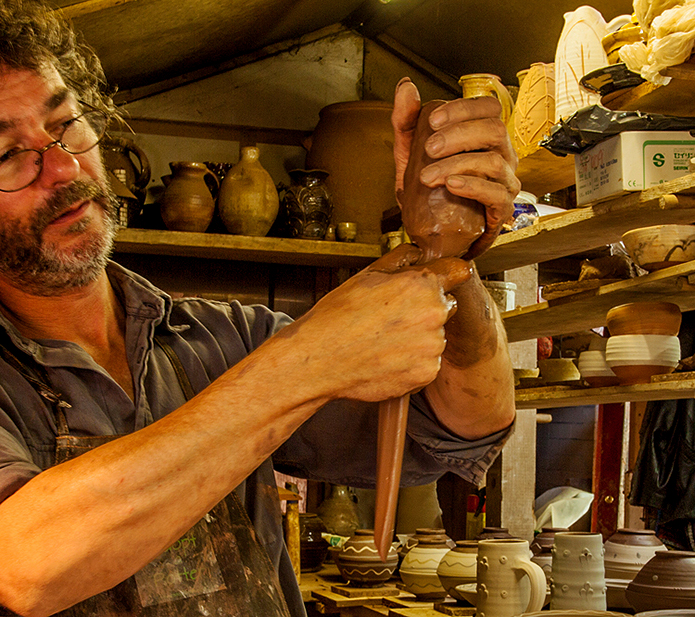
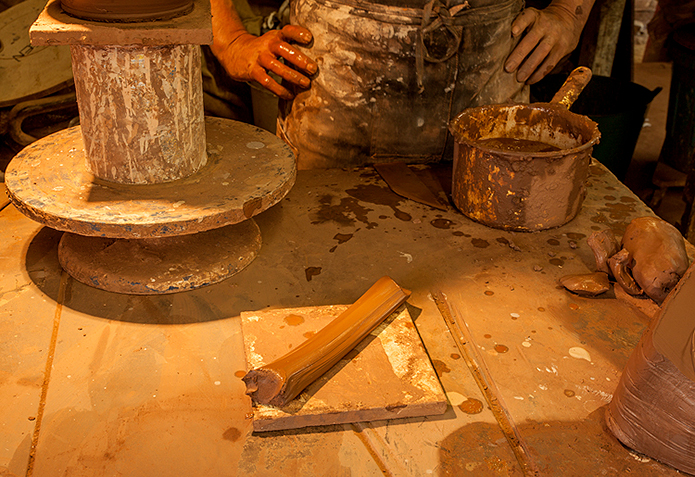
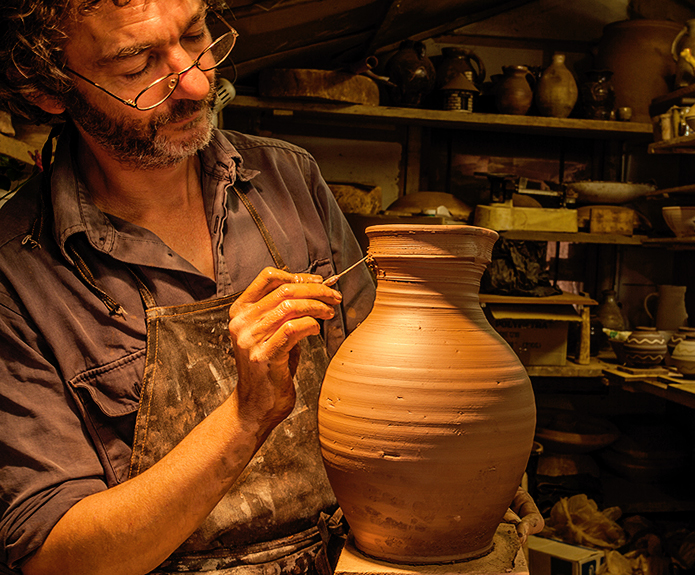
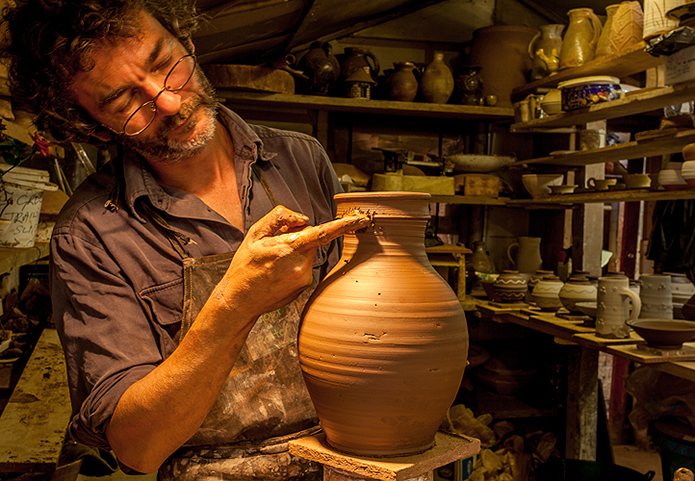
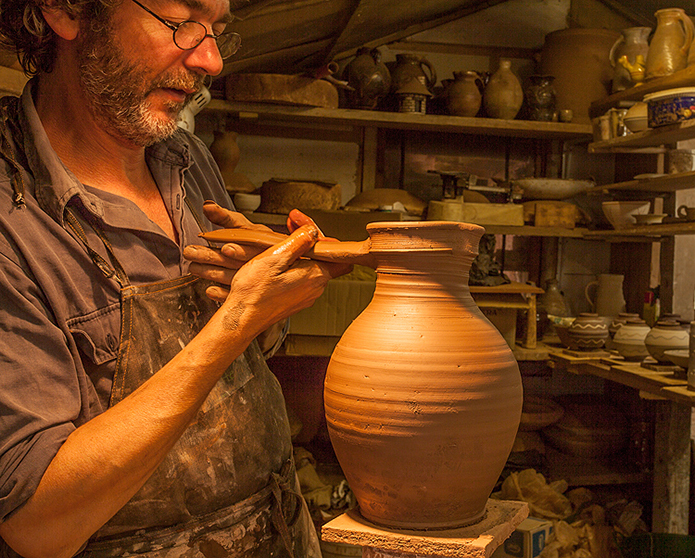

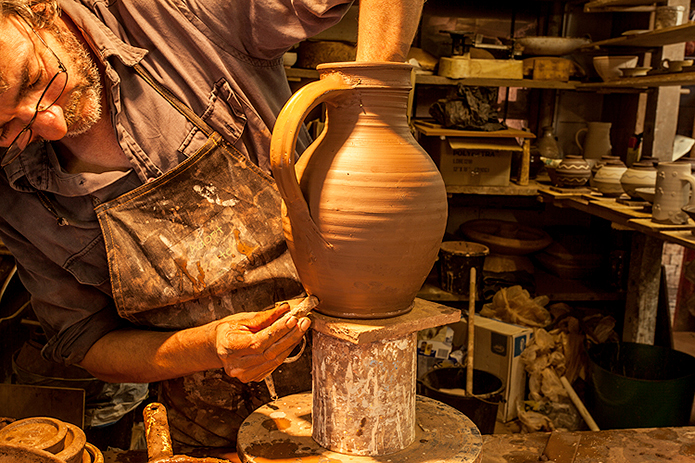
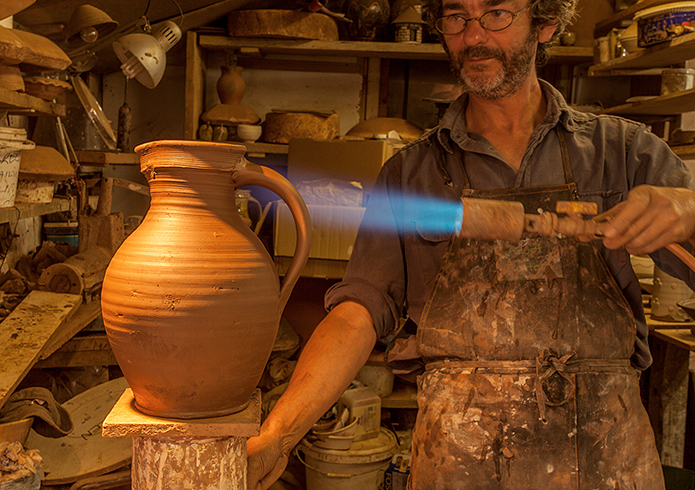
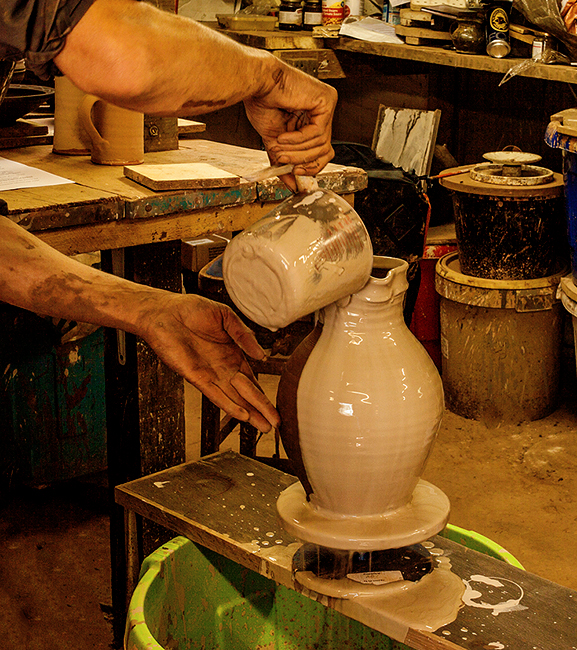
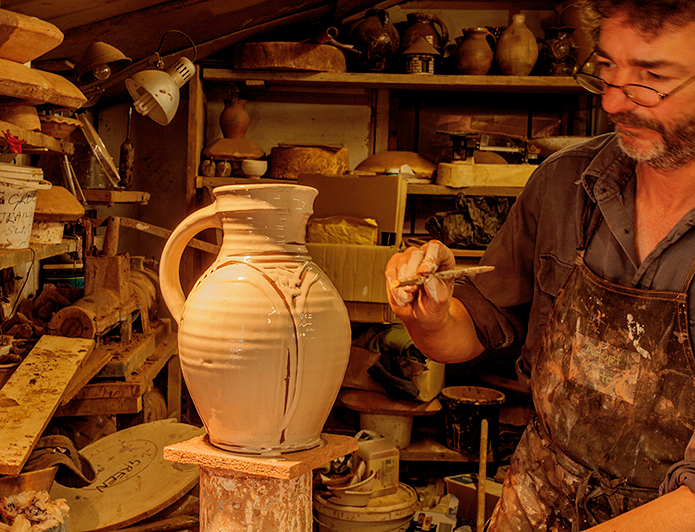
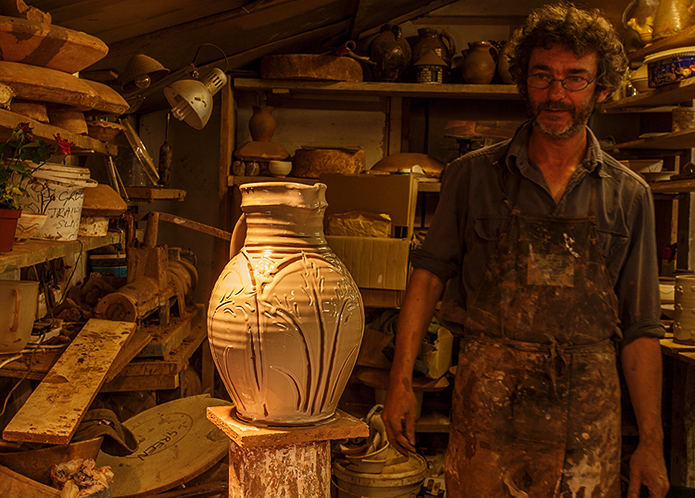
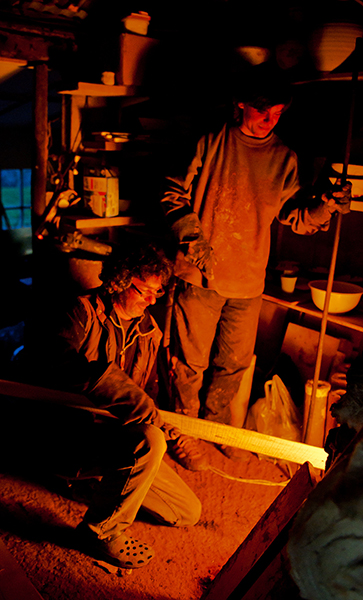
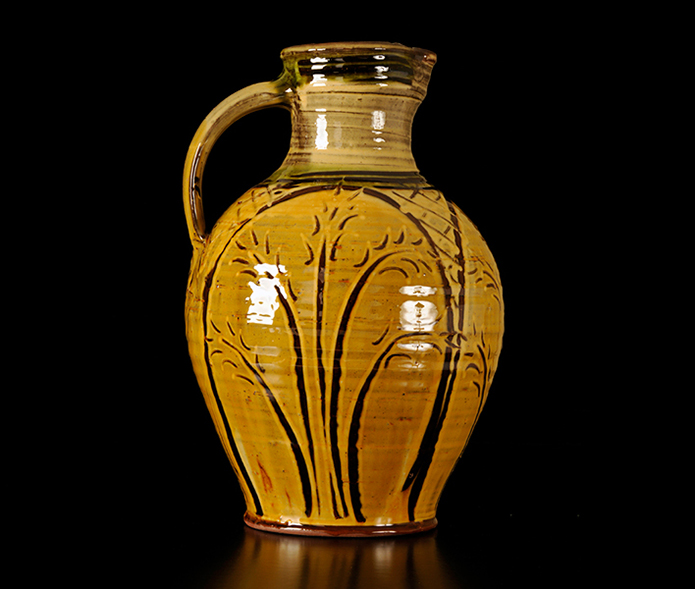
Image courtesy of Jonathan Thompson / Pixlpix Photography.
Many thanks to Doug Fitch for taking time out of his busy schedule to talk us through the steps how he goes about making one of his wonderful, iconic jugs. For more information on Douglas Fitch Slipware Pottery, please visit Doug’s website: